温欣爸比

  • 主页
  • Alfred Workflow
  • 《Vim 练级手册》
  • 常用命令
  • 代码笔记
  • 合辑
  • 在线工具
所有文章 友链 关于我

温欣爸比

  • 主页
  • Alfred Workflow
  • 《Vim 练级手册》
  • 常用命令
  • 代码笔记
  • 合辑
  • 在线工具

使用 goss 构建 Github 图床

2019-04-14

写个人博客也快两年了,在博客里放图片一直是个老大难的问题,微博一类的三方图床不爱用,总觉得不极客,使用 OSS 的话多少跟技术沾些边,要是直接使用 linux 服务器搭建的话,又太麻烦,因为需要处理的事情太多了,从图床的角度来说,稳定性还是很重要的。

抽个空就会想想这个事情,好歹想出来使用 Github 来做图床,但是这就算是跟技术沾边了?我慢慢来说。

  • 如何使用 Github 图床
  • 使用 goss 构建图床
    • 使用

如何使用 Github 图床

使用 Github 构建图床是很投机的一件事,和使用微博的方式类似,不过更加自由。

首先创建一个新的仓库当做图床

仓库地址为 https://github.com/wxnacy/image
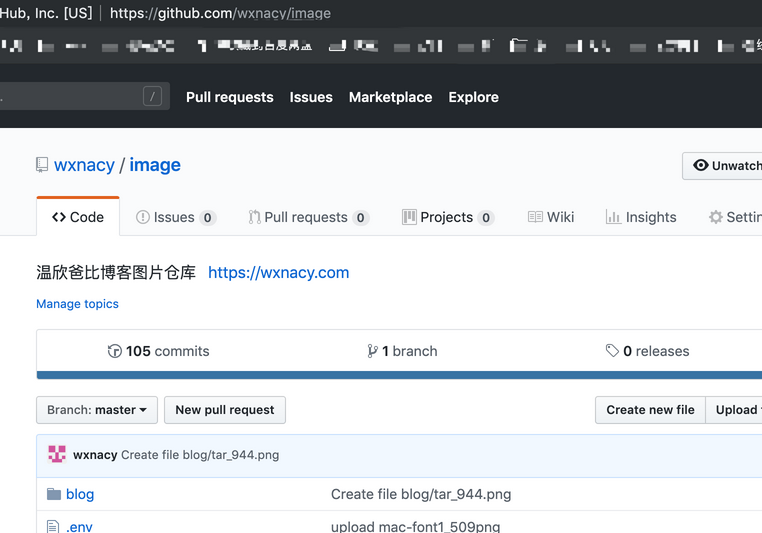
goss1

然后上传一个图片

图片的网页地址为 https://github.com/wxnacy/image/blob/master/blog/mavel5.png
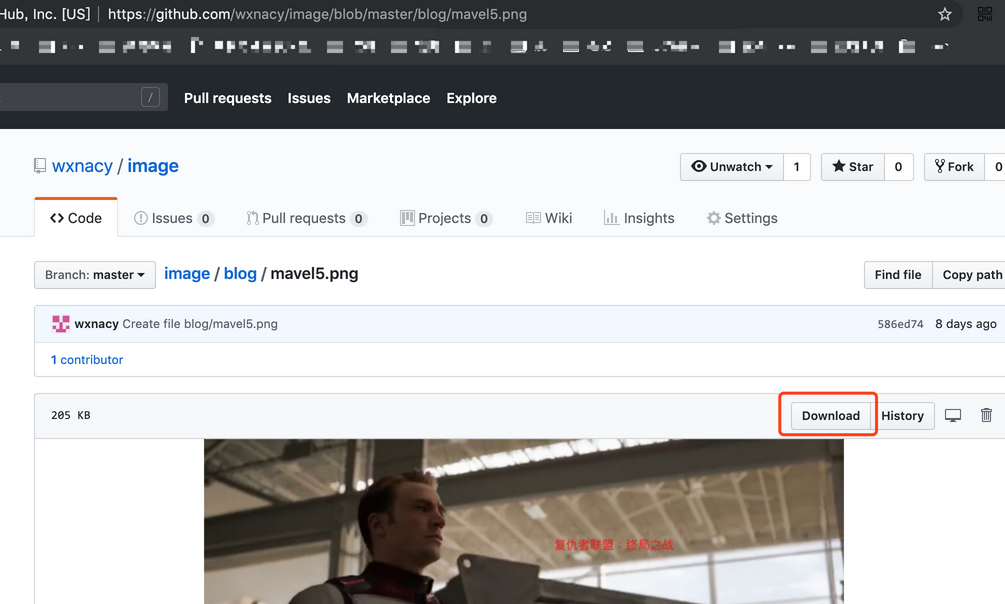
goss2

找到图片网址

然后点击右侧的 Download,网页就会跳转到图片的下载地址,也就是图片链接。

下载地址为 https://raw.githubusercontent.com/wxnacy/image/master/blog/mavel5.png

goss3

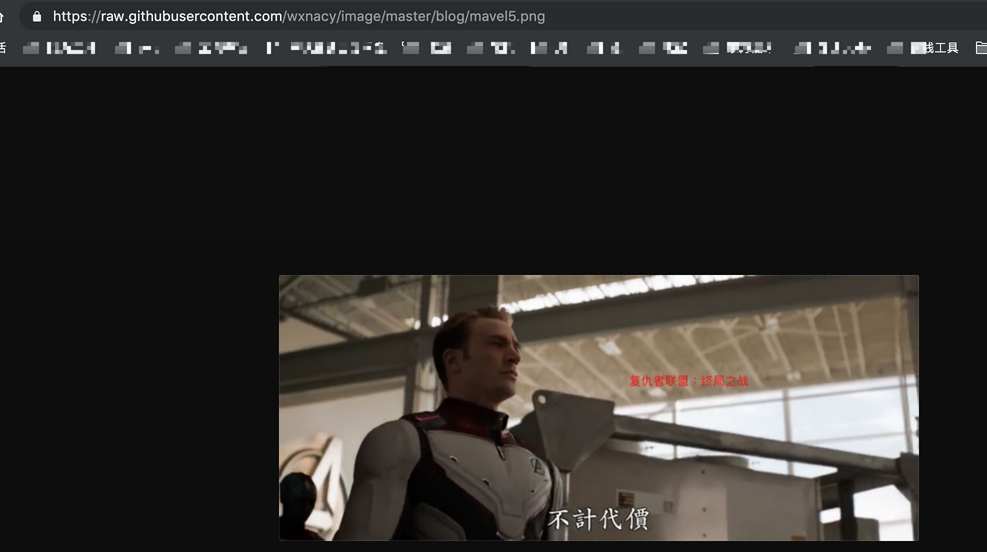
通过这个规律,我就可以在上传完图片后,根据图片地址规则拼接出我们想要的图片链接。

然后这个方式并不酷。

使用 goss 构建图床

身为一个程序员,用这样的方式进行上传、拼接地址,这个过程一点都不酷。我希望的是更极致,更方便的方式,所以 goss 诞生了。

goss 全称 Github Object Storage System,也就是 Github 版本的 OSS。

它使用仓库代替 bucket,使用文件 path 代替 key,这样每个仓库都是一个独立的图床。

goss 自带一套很方便的命令行工具来操作仓库和文件,下面简单的使用几个命令,走一下增删改查的流程。

使用

安装

目前仅支持 pip 安装

1
2
$ pip install goss              # 安装
$ pip install --upgrade goss # 更新

登陆

1
$ goss-cli login

根据命令行提示输入 Github 用户名密码即可,执行一次后会记录在本地,如果想要更换用户再次执行即可。

goss 会在登陆成功后自动获取用户提交信息的 name 和 email,无需像 Git 一样再去手动配置
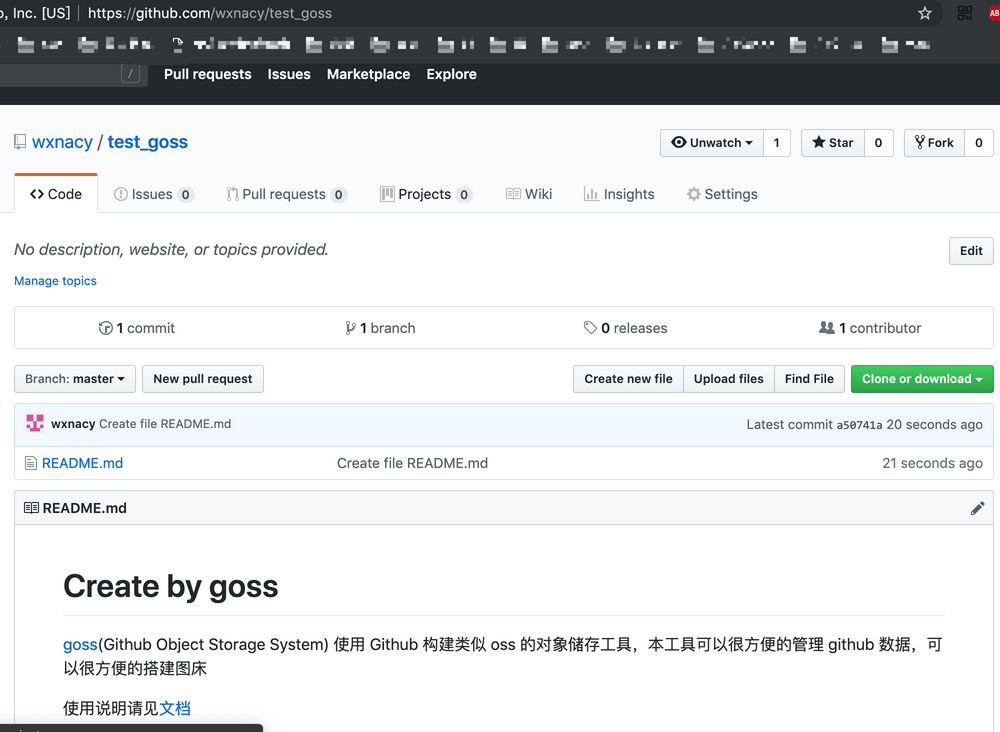
创建仓库

1
2
3
4
5
6
7
8
9
$ goss-cli repo test_goss -m post

[INFO] Create repository
[INFO] Url : https://github.com/wxnacy/test_goss
[INFO] Waiting...
[INFO] Create README.md
[INFO] Url : https://github.com/wxnacy/test_goss/blob/master/README.md
[INFO] Waiting...
Success!

等待命令行执行成功后,仓库创建成功,如图

goss4

上传图片

上传操纵,单独有个命令为 goss

1
2
3
4
5
6
7
8
9
10
$ goss -r test_goss -p test/ goss1.png

[INFO] Upload file
[INFO] Source : goss1.png
[INFO] Path : test/goss1.png
[INFO] HtmlUrl : https://github.com/wxnacy/test_goss/blob/master/test/goss1.png
[INFO] DownUrl : https://raw.githubusercontent.com/wxnacy/test_goss/master/test/goss1.png
[INFO] Now you can use it with <Ctrl-v> and wait for the upload to succeed.
[INFO] Waiting...
Success!

在日志中会打印出图片的下载地址,然后我们并不需要手动复制,在等待上传的 Waiting... 阶段,我们可以直接使用 <ctrl-v> 来在文本中直接黏贴图片链接,并且继续编写文章,等图片上传完成后,该链接自动生效。

这也是 goss 最最方便的地方,只需要执行一条命令,剩下的不需要再去管。

参数部分

  • -r 仓库名称,如果不想每次手动输入,可以使用 goss-cli config repo.name <name> 来进行配置
  • -p 文件重命名,如果以 / 结尾,代表以原文件名上传到该目录中

查看文件

1
2
3
4
5
6
7
8
9
10
11
12
13
14
15
16
$ goss-cli file test/goss1.png -r test_goss

[INFO] Query file
[INFO] Owner : wxnacy
[INFO] Repo : test_goss
[INFO] Path : test/goss1.png
[INFO] Waiting...
Path : test/goss1.png
Type : file
Size : 183122
Sha : dad2a5a0cdfd8fe0b979d3345f72bdcb98b0ecb6
HtmlUrl : https://github.com/wxnacy/test_goss/blob/master/test/goss1.png
DownUrl : https://raw.githubusercontent.com/wxnacy/test_goss/master/test/goss1.png
[INFO] Now you can use it with <Ctrl-v> and wait for the upload to succeed.
More details see : https://api.github.com/repos/wxnacy/test_goss/contents/test/goss1.png?ref=master
Success!

删除文件

1
$ goss-cli file test/goss1.png -r test_goss -m delete

先你应该发现了,命令中的正删改查的方式来源于 RESTFul 风格。

--method/-m 参数

  • post 新建
  • get 查看,默认
  • delete 删除

删除仓库

1
$ goss-cli repo test_goss -m delete

现在这个命令应该慎用,因为这是彻彻底底的删除,除非你真的想删除一些老项目,否则最好不要用这个命令。

今天只是简单介绍下使用 goss 来构建图床,goss 本身会有很多功能,我也会不断的进行更新,你可以使用帮助命令来获取更多的信息

1
2
3
4
5
6
7
8
9
10
11
12
13
14
15
16
$ goss-cli --help

Usage: goss-cli [OPTIONS] COMMAND [ARGS]...

Github Object Storage System

Options:
-v, --version Show the version
-d, --debug Run in debug
--help Show this message and exit.

Commands:
config Get/Create/Update goss config
file Get/Delete/Download your file If you want to upload file.
login Log in to the github account
repo Get/Create your repositorys

子命令也可以查询

1
2
3
4
5
6
7
8
9
10
11
12
13
14
15
16
17
18
19
20
$ goss-cli file --help

Usage: goss-cli file [OPTIONS] [PATH]

Get/Delete/Download your file

If you want to upload file. Please use command

goss <filepath> --repo=<repository-name>

More usage see : goss --help

Options:
-m, --method TEXT GET/POST/PUT/DELETE for repository. Default is GET
-o, --orga TEXT If want create organization repository. Is required
-D, --download Download file
-y, --yes All questions answered yes
-O, --output TEXT Download name. Default is file name
-r, --repo TEXT Repository name [required]
--help Show this message and exit.
最近更新
Alfred Workflow 命令行帮助工具
最近热读
Go 判断数组中是否包含某个 item
Vim 高级功能 vimgrep 全局搜索文件
办理北京工作居住证的一些细节
Go 语法错误:Non-declaration statement outside function body
Mac 电脑查看字体文件位置
扫码关注公众号,或搜索公众号“温欣爸比” 及时获取我的最新文章
赏

谢谢你请我喝咖啡

支付宝
微信
  • python
  • 工具
Vim 执行 Shell 命令(1)
Linux tar 打包命令
  1. 1. 如何使用 Github 图床
  2. 2. 使用 goss 构建图床
    1. 2.1. 使用
© 2017 - 2022 温欣爸比 京ICP备15062634号 总访问量3361次 访客数3313人次 本文总阅读量4次
Hexo Theme Yilia by Litten
  • 所有文章
  • 友链
  • 关于我

tag:

  • python
  • flask
  • javascript
  • docker
  • 工具
  • openresty
  • 微信
  • java
  • hexo
  • 杂谈
  • vim
  • git
  • mysql
  • http
  • linux
  • mac
  • tmux
  • ssh
  • 算法
  • 开发
  • node
  • 杂文
  • jinja2
  • maven
  • spring
  • 北京
  • 生活
  • springboot
  • react
  • shell
  • graphql
  • iterm
  • expect
  • nginx
  • sqlalchemy
  • html
  • electron
  • vagrant
  • elastic
  • 宝贝
  • ansible
  • css
  • jquery
  • go
  • markdown
  • awk
  • redis
  • leetcode
  • zsh
  • 漫威
  • ssr
  • android
  • ffmpeg
  • chrome
  • vmware
  • youtube
  • windows
  • jupyter
  • excel
  • jq
  • Mac
  • Homebrew
  • mongo
  • py2
  • HomeBrew
  • movie
  • nodejs

    缺失模块。
    1、请确保node版本大于6.2
    2、在博客根目录(注意不是yilia根目录)执行以下命令:
    npm i hexo-generator-json-content --save

    3、在根目录_config.yml里添加配置:

      jsonContent:
        meta: false
        pages: false
        posts:
          title: true
          date: true
          path: true
          text: false
          raw: false
          content: false
          slug: false
          updated: false
          comments: false
          link: false
          permalink: false
          excerpt: false
          categories: false
          tags: true
    

  • Guru99
每天看书
每天背单词
每天一篇
写写代码
听听周杰伦
爱爱老婆